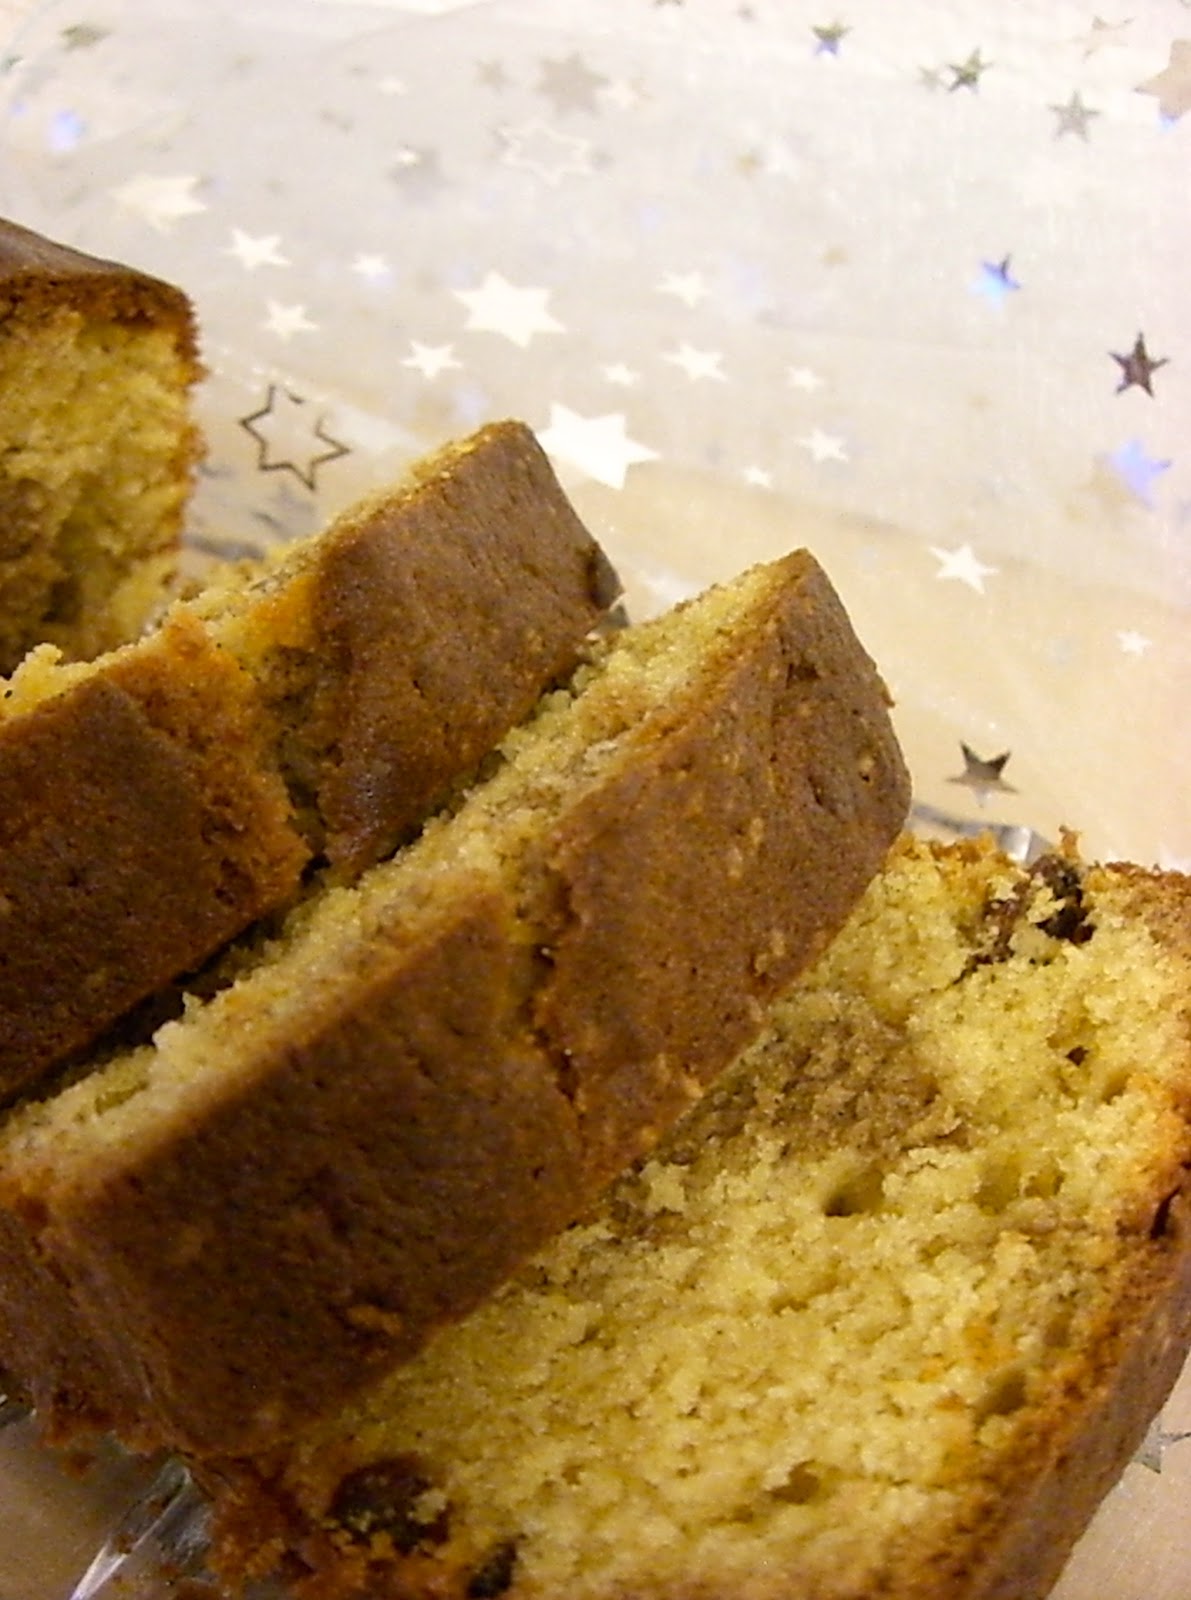
Monday, January 28, 2013

Carrot Apple and Pecan Muffins

Lately, I've been trying to use up all kinds of foods that I got in stock. There are lots of different seeds, nuts, flours and dried fruit in my kitchen cupboard and since I also had apples and carrots at home this weekend, I spontaneously decided to bake these muffins. Don't get irritated by the long ingredients list, they are, apart from grating the veggies and the fruit, no big deal to make. They were my afternoon snack after a long walk in the cold yesterday. I love the crunchy topping! And what a wonderful and intense flavor they develop after a few hours... so stop yourself from eating them right after baking and have a little patience.


Recipe
(from: Ottolenghi - The Cookbook)

300g plain flour
2 tsp baking powder
2 tsp ground cinnamon
a pinch of salt
4 free-range eggs
160ml sunflower oil
280g caster sugar
1 tsp vanilla essence
220g peeled carrot, grated
200g apples, roughly grated
100g pecan nuts, roughly chopped
100g sultanas
50g flaked coconut

For the topping:
50g unsalted butter, cut into small pieces
75g plain flour
25g brown sugar
50g whole rolled oats
15g sunflower seeds
25g pumpkin seeds
15g black sesame seeds
1 tsp water
1 tsp sunflower oil
1.5 tbsp honey

First, make the topping. In a bowl, stir together the butter, flour and sugar. Rub with your fingertips until the butter is incorporated and you have a crumbly texture. Mix in the oats and seeds and then the water, oil and honey. Stir everything together, resulting in a wet, sandy texture. Set aside.

Preheat the oven to 170°C. Line a muffin tray with paper cases. The recipe says that it's for 10-12 muffins, I ended up with 12 muffins and 5 minicakes.

Sift together flour, baking powder, cinnamon and salt. In a large mixing bowl, whisk together the eggs, oil, sugar, vanilla essence and grated carrot and apple. Gently fold in the pecans, sultanas and coconut and then the sifted flour mixture. Don't overmix and don't worry if the batter is lumpy and irregular. Spoon into the lined tins and scatter the topping generously over the top.

Bake for about 25 minutes, until a skewer inserted in the center of the muffin comes out clean. Remove the muffins from the tins when they are just warm and allow them to cool before serving. The flavor will improve after a few hours!


Friday, January 18, 2013

Celeriac and Pear Soup with Saffron

Winter is back again... Time to share one of my favorite soup recipes with you. I stumbled over it by chance last year and thought that the combination of pears and celeriac sounded interesting. Pears are probably my favorite fruit by now. I like them for their simplicity, they are not too sweet, they are not the star in your fruit bowl, yet, they are so comforting and useful in many ways for both sweet and savory dishes. This soup here means ultimate comfort to me and I have cooked it several times already this winter. Only recently, I began to add saffron which gives the soup this wonderful yellow color and makes it even more warming.


Recipe
(adapted from: Fool for Food and Home Made by Yvette van Boven)

1 onion, sliced
400g celeriac, cut into dices of about 2cm
1 pear, peeled, without core, in coarse pieces
30g butter, I used ghee
50ml white wine
500ml vegetable stock
200g cream
a large pinch saffron
salt
pepper
nutmeg

Heat butter in a large sauce pan. Add onion, celeriac and the pear and sauté for about 3 minutes. Add the wine and then the vegetable stock. Bring this to a boil and then, turn down the heat. Add the saffron, cover the pan with a lid and let simmer for about 20 minutes, until the celeriac is soft.

Add the cream and take away from the heat. Purée. If you want to strain the soup through a sieve, you can do that. Season your soup and add some cream or vegetable stock if you think your soup is too thick. You can add some roasted bacon to this soup to finish if you like and garnish it with parsley. Instead of cream, by the way, you could also add creme fraiche to this soup. When it comes to soups, I am kind of a freestyle cooker, so just cook this soup the way you like!


Sunday, January 13, 2013

Speckled Chocolate Cake... with Love

Do you know what DIY is? Well, I didn't until last week when Ina explained it to me. DIY = "do it yourself". Handicraft means to Ina what baking means to me. While I visit my favorite food blogs every day, Ina reads her beloved DIY blogs. "That's my daily business!" she claimed. So I had Ina over yesterday and she brought all sorts of gadgets from the art supplies shop and we tried to make our own necklace. Of course, we had cake, too!


These pictures are what happens when a food blogger and a DIY freak join forces :-) Ina had passed her time during the train ride to Zurich with trying to form the word "love" with a golden wire. I thought it was so cute that I wanted it on the photo. All of a sudden, Ina thought that we also need some pearls for decoration. I think that was one of my funniest photo sessions ever! And I like the pictures very much. By the way, this cake is great! No big deal to make and with ingredients that probably any baker has in stock anyway. Cut it into thin slices, it's rather heavy.


Recipe
(from a book I love and should use more often: Warm Bread and Honey Cake by Gaitri Pagrach-Chandra)

200g ground almonds
100g flour
1/4 tsp salt
1/4 - 1/2 tsp ground cinnamon
150g dark chocolate, coarsely grated
3 eggs
225g sugar
125g butter, melted and slightly cooled

Preheat the oven to 160°C and grease a 24cm diameter springform tin and line the base with parchment paper.

In a bowl, mix together ground almonds, flour, salt and cinnamon. Set aside. Before adding the chocolate to the mixture, weigh it again when you have grated it to make sure that you have the correct weight. Then, add to the almond-flour mixture.

In another bowl, whisk eggs and sugar together with an electric hand mixer until thick and pale. The mixture should fall off the whisk in a thick ribbon rather than a thin stream. Gently fold the flour mixture into the egg mixture. Don't whisk, use a spatula and make figures of eight. Add the melted butter and fold in until there are no more streaks of butter evident in the batter. 

Transfer the batter into the prepared tin and smooth the surface with your spatula. Bake for about 45-55 minutes until a skewer inserted into the center comes out clean except for the odd smudge of melted chocolate. Leave to cool in the tin for a few mintes, then release from the tin and transfer to a wire rack.

Well wrapped, this cake should keep for a few days at cool room temperature.


Sunday, January 06, 2013

Dulce De Leche Cupcakes

New Year's resolution: Bake more cupcakes. Start: Today! Those cute little cakes are true charmers... and with dulce de leche... Now, who wouldn't love that?! I hardly know anyone who doesn't like caramel. Let me tell you, even dogs like these cupcakes. But see below.


These were intended for Andrea's birthday party today. As I was on the way to her, I accidentally ran into Ina, another friend of mine from the office. I was so happy to see her that I spontaneously gave her two cupcakes for her and her husband who is sick at the moment. Cake, in my opinion, is the best medicine! Later this afternoon, I got a thank-you-sms with two pictures. One showing Ina and her husband taking a bite of the cupcakes (I swear they looked even sweeter than the cupcakes) and the other one showing the two emtpy paper cases on their dinner table. Isn't that cute?! Things like that really cheer me up! Also, I had a wonderful afternoon at Andrea's. So many funny moments... Including a tarot session with the girls and a cupcake-rescue operation. The cupcakes were placed on the living room-table and Edith's dog darted for them as soon as it was released from the leash. "Amie" seemed to love the icing... well, one cupcake was "contaminated" after that, but - thank God - we managed to save the rest :-)


Recipe
(from: Süsse Sünden by Tarek Malouf from the Hummingbird Bakery)

For the dough:

80g soft butter
280g sugar
1/2 sachet of vanilla sugar
240g flour
1 tablespoon baking powder
1/4 teaspoon salt
2 eggs
240ml milk
150g dulce de leche

Preheat the oven to 190°C. Line a 12-mould muffin pan with paper cases.

In a bowl, mix butter, sugar, vanilla sugar, flour, baking powder and salt with an electric hand mixer on low speed until you have a fine crumbly batter.

Mix milk and eggs and add to the cake batter in three additions while constantly mixing. Scrape down the bowl with a rubber spatula from time to time. Mix until all is well combined. Add the dulce de leche  and mix until you have a smooth batter.

Fill your batter into the prepared cases. Don't overfill them or they will spill while baking! Two thirds is fine. Bake in the middle of the oven for about 20 minutes. Check with a wooden skewer whether they are done. Let cool completely after baking.

For the frosting:

500g icing sugar
160g very soft butter
50ml milk
100g dulce de leche, plus some more for decorating if you like

In a bowl, mix butter and icing sugar with an electric mixer on low speed until you have a powdery batter. Slowly add the milk while constantly mixing. On high speed, mix until you have a fluffy batter. Then, add the dulce de leche and mix well.

Spread the frosting on your cupcakes with a palette knife. Remember, I told you about Myriam und die Meisterbäcker?! In one of the series, she and Michelle explain how it's done!

If you like, you can use some more dulce de leche to decorate your cupcakes with a piping bag.


Wednesday, January 02, 2013

Banana Spice Cake

Happy new year everyone! Are you ready for 2013? Well, let's have some cake for starters. I have a rich and spicy winter cake for you. The recipe comes from the TV series "Myriam und die Meisterbäcker" which was broadcasted on Swiss TV during December. Tanja Grandits suggests to make your own spice mixture. And let me tell you, it's totally worth the effort. I guess you could also use the store-bought ground spices, but the result would be somewhat different flavorwise. Besides, it occurred to me this morning that roasting and grinding spices is a wonderfully comforting thing. As was Myriam's TV series. It can still be accessed online. If you are as fond of baking as I am, watch it. Makes you happy - I guarantee you that!


Recipe
(slighly adapted from: here)

225g ripe bananas (peeled)
225g brown sugar
2 eggs
150g melted butter (room temperature)
60g walnut oil (I used sunflower oil)
225g flour
1 teaspoon baking powder
1 pinch of salt
grated zest of 1 lemon
1 vanilla pod (scraped out seeds)
some butter for the pan

For the spice mixture:
4g star anise (whole)
4g cinnamon stick
1g cloves (whole)
2g black pepper (whole)
1g cardamom (whole)

For the spice mixture, roast all the spices seperately in a large frying pan without oil. Then, put in a mortar and grind until you got powder and mix together.

For your cake, line a 20cm square cake tin or a 24cm diameter springform pan with parchment paper and grease with butter. Preheat the oven to 180°C.

Put sugar, eggs and the mashed bananas into a large bowl and mix with your electric hand mixer until well combined. Add the vanilla seeds and the lemon zest and mix well. Add oil and butter and combine. Then, sift in flour and baking powder. I took two teaspoons of the spice mixture and also sifted it in. Add the salt. Mix until you have a smooth dough.

Pour your batter into the prepared cake tin and bake for about 35 minutes (my cake took about 45 minutes). As usual, check with a wooden skewer whether the cake is done. If the inserted skewer comes out of the cake clean, it's done.

Sift together some of your leftover spice mixture and some sugar and sprinkle over your cake.


Sunday, December 30, 2012

Orange Cake

As usual, dessert is my part when it comes to our family Christmas dinner. I was really looking forward to sharing these pictures with you! I'm really proud of this cake! Isn't it an eye-catcher?! Good news: It's not that difficult to make. And it's delicious! After baking, the cake is soaked in orange syrup. It's wonderfully dense and moist. It's rather sweet, but not all that heavy. I - as you might guess - love it served with a dollop of whipped cream ;-)


Recipe
(from one of my favourite books: I love Cake by Trish Deseine)

4 eggs
220g sugar
150g flour
1 teaspoon baking powder
150g butter, melted
120g ground almonds
1 teaspoon grated lemon zest

for the syrup:
225g sugar
125ml water
2 or 3 oranges, washed and cut into thin slices

Line a 20cm diameter springform pan with parchment paper and grease well with butter (also line the rim with parchment paper!). Preheat the oven to 160°C.

For the syrup, pour the sugar and the water into a large pan and heat it up while constantly stirring. When the sugar has dissolved, add the orange slices and let simmer for about 10-15 minutes until the oranges are soft but still keep their shape. Take the pot away from the heat and drain the orange slices. Keep the syrup for later.

Put the eggs and the sugar into a large bowl and beat with an electric mixer for about 8-10 minutes until you have a creamy and thick batter about three times the volume of before.

Sift in flour and baking powder and fold in gently (I did it with a rubber spatula). Then, add the melted butter, the almonds and the lemon zest. Fold in until all is well combined.

Now line the rim and the bottom of your springform pan with the orange slices. Fill in the batter and bake for about 50 minutes. Check with a wooden skewer whether your cake is done. There shoul be no dough on the skewer. I left my cake in the oven for about 60 minutes.

Take the cake out of the oven and let cool for about 15 minutes or so. Then, release from the springform pan and turn it over.

Pour over some of the remaining orange syrup. Let cool completely before serving. If you have any leftover syrup, you can serve it together with the cake.


This is my last post this year. My 2012 was great - exciting and fast-paced, sometimes demanding, with an unexpectedly quiet end that gave me time to slow down. It made me realize that it can't hurt to take a break every now and then. I had wonderful moments with my friends and family this year. I got to know new people that grew dear to my heart and I'm looking forward to seeing them again in 2013. I don't know about you, but I have a feeling that it's going to be a good year. I wish you all a good start next week!


Monday, December 24, 2012

Merry Christmas


This is just to wish you all a merry merry Christmas.

And to say thank you to all my friends who have been there
for me - especially in the past 4 weeks. 

I am so lucky to have you.

Lots of love
Katrin

Sunday, December 23, 2012

Spice Cookies

I have been looking for old fashioned cookie molds this winter and I didn't find any. I was all the more happy when I found out that my grandma still has these kind of molds. She lent them to me and yesterday, I finally turned on the oven again after almost a month. Feels good :-) I'm really fond of these cookies. They taste delicious and don't they look cute?! Stay tuned next week for some more pictures and of course, for the cake I made this morning for our family christmas dinner tomorrow evening.


Spekulatius
(from: Betty Bossi - Backen in der Weihnachtszeit)

120g butter, soft
120g brown sugar
1 pinch of salt
1 egg
60g ground almonds
grated zest of one lemon
1 teaspoon cinnamon
1 pinch of ground cardamom
1 pinch of ground cloves
250g flour
1 teaspoon baking powder

In a large bowl, beat the butter until smooth. Add the sugar, salt and the egg and beat until the batter is pale and smooth. Add almonds, lemon zest, cinnamon, cardamom and cloves and mix well. Add the flour and the baking powder and bring together to a dough. Form a large ball and flatten it a little with your hand. Wrap in clingfilm and cool for about 30 minutes.

Preheat the oven to 200°C. Roll out portions of the dough on a floured surface or between two layers of cling film (about 7cm thick). If you have molds, press them into the dough and cut it around the edges with a knife or, if they are round, with a glass or a round cookie cutter a bit larger than the mold. If you don't have these old fashioned molds, just use the usual cookie cutters. Put the cookies on a tray lined with parchment paper. Cool for another 10 minutes.

Bake the cookies for about 10 minutes in the middle of the oven. Take them out of the oven. Let cool on a wire rack.

They keep, in an airtight container, for about 2 weeks.


Thursday, December 20, 2012

Cinnamon Marble Cake

I know, I have not posted a single cookie recipe this December and to be honest, I am not even sure whether there is going to be a cookie session at all. But guys, sometimes, less is more and there were other things that needed to be taken care of this month. I'm sure there will be plenty of time for baking next year and who knows... I might turn on the oven this weekend. For now, I have a really simple and wonderful cake recipe for you that I tried out in the first week of December. By using cinnamon instead of cocoa powder and adding handful of raisins, you can turn a marble cake into the perfect Christmas treat.


Recipe
(from: Süsse Sünden - Tarek Malouf)

190g soft butter, plus a little to grease the cake tin
190g sugar
1 sachet of vanilla sugar
3 eggs
190g flour, plus a little more for the cake tin
1 teaspoon baking powder
1/2 teaspoon salt
25g sour cream
1 tablespoon ground cinnamon
70g raisins

Preheat the oven to 170°C (convection oven: 150°C). Grease a 20cm cake tin with butter and dust with flour.

Beat butter, sugar and vanilla sugar with an electric mixer until fluffy. Add the eggs one by one. Scrape down the bowl from time to time with a ladle.

Sift the flour, baking powder and salt together into another bowl. In two additions, add the flour mixture to the fluffy mixture and mix well. Then, add the sour cream.

Put about 200g of the dough into another bowl, add the cinnamon and mix well. Add the raisins to the other remaining dough. Fill the dough with the raisins into your prepared cake tin first. Then, add the cinnamon dough. Run through it with a fork and swirl it around a bit to create the marble effect.

Bake the cake in the middle of the oven for about 50-60 minutes. Test whether it's done with a wooden skewer. If there is no dough on the skewer, your cake is done.


Monday, December 03, 2012

Sweet Potato Soup with Dried Apricots

It's way too cold outside... and the weather forecast said something about heavy snowfall today. Therefore, I decided to post another warming soup recipe before I'm going to start with this year's Christmas baking session. I like sweet potatoes very much, and I was intrigued by the idea of adding dried apricots to a soup. It totally worked for me, the dried apricots add an extra something to the flavor.


Recipe
(Original in German: here)

Ingredients for 2-3 servings:
1 tablspoon butter
1 red pepper
1-2 big sweet potatoes
2 teaspoons mild curry powder
50g dried apricots, diced
5dl vegetable stock
salt and pepper
2 tablespoons greek yoghurt or sour cream

Peel the sweet potatoes. Cut the sweet potatoes and the pepper into dices. In a saucepan, heat the butter and add the curry powder. Add the pepper and the sweet potato and sauté at medium heat for about ten minutes. Add the diced apricot, mix well and sauté for another 10 minutes. Add the vegetable stock and let simmer for about 15 minutes. Then, purée and add the yoghurt. Season with salt and pepper. Add some thyme leaves if you like and serve.


Related Posts with Thumbnails